Farrier's Diary - How To Use
Step-by-step user flow.
Step 1 - Add your first horse to the application
As a service provider (farrier, trimmer), most likely you have some clients and horses(ponies, mules etc.) you are working with. So, these are the primary "entities" of the application. That's the starting point.


Step 2 - Assign the horse to the owner
Obviously, every horse has an owner. It's not necessary to add one, but it may be easier for you later, especially when a client has more than one animal. For example, you can filter horses by a client(owner).


Step 3 - Add a stable(location)
Every horse lives somewhere, does he? On this step, we will create a new location(stable) and attach it to a horse. Again, you do not have to do it, but it is beneficiary when you do the whole stable and you do not really care who are owners.


Step 4 - Attach a client and a stable to the horse
Now, it's the time to connect everything together.


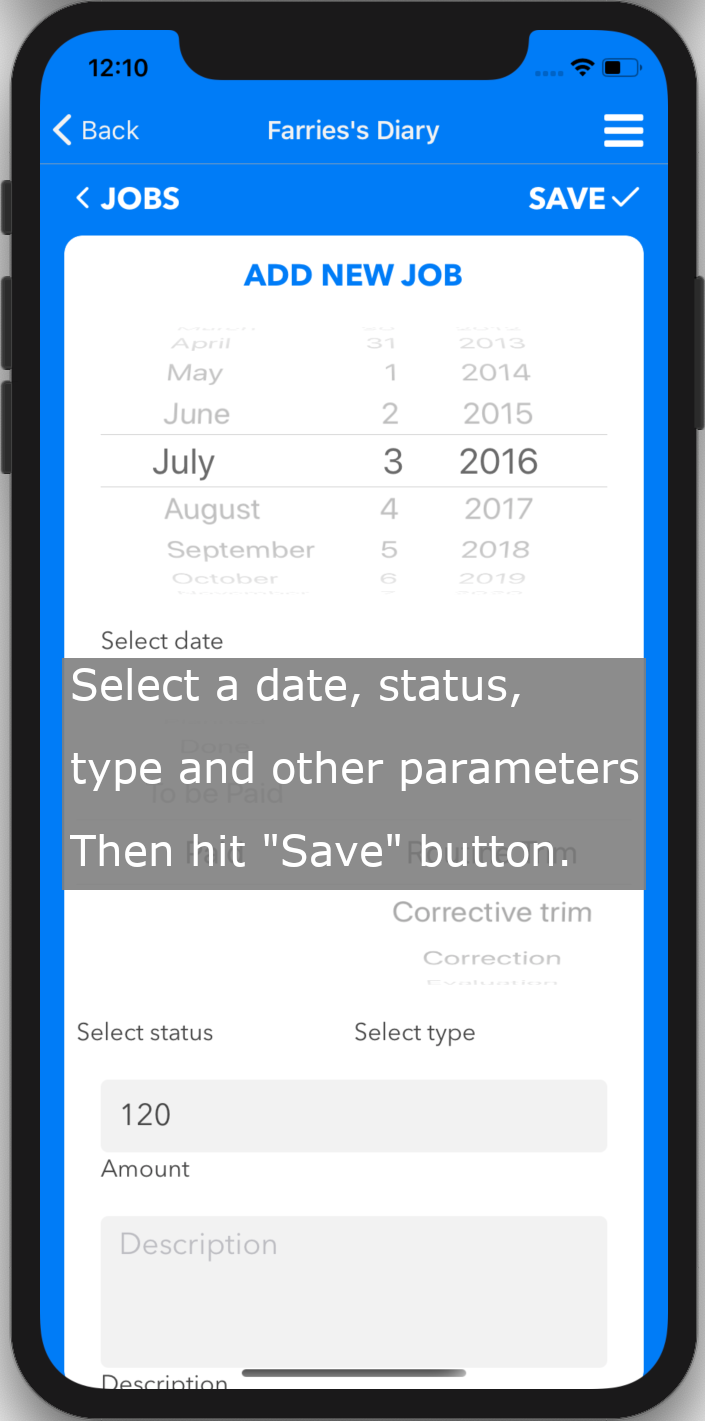
Step 5 - Create your first job
Jobs are what you actually do with an animal: you trim, you shoe etc. That's the most important thing in the application.


Step 6 - Take some photos
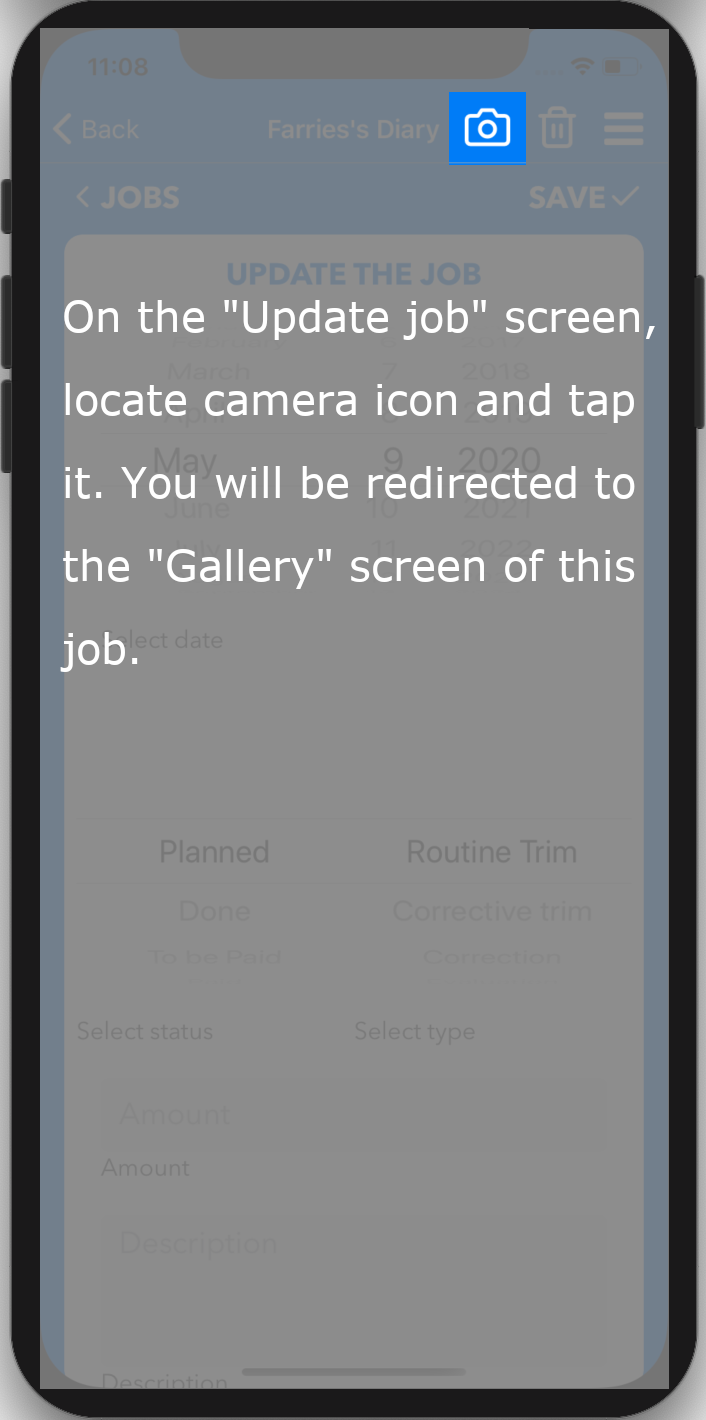
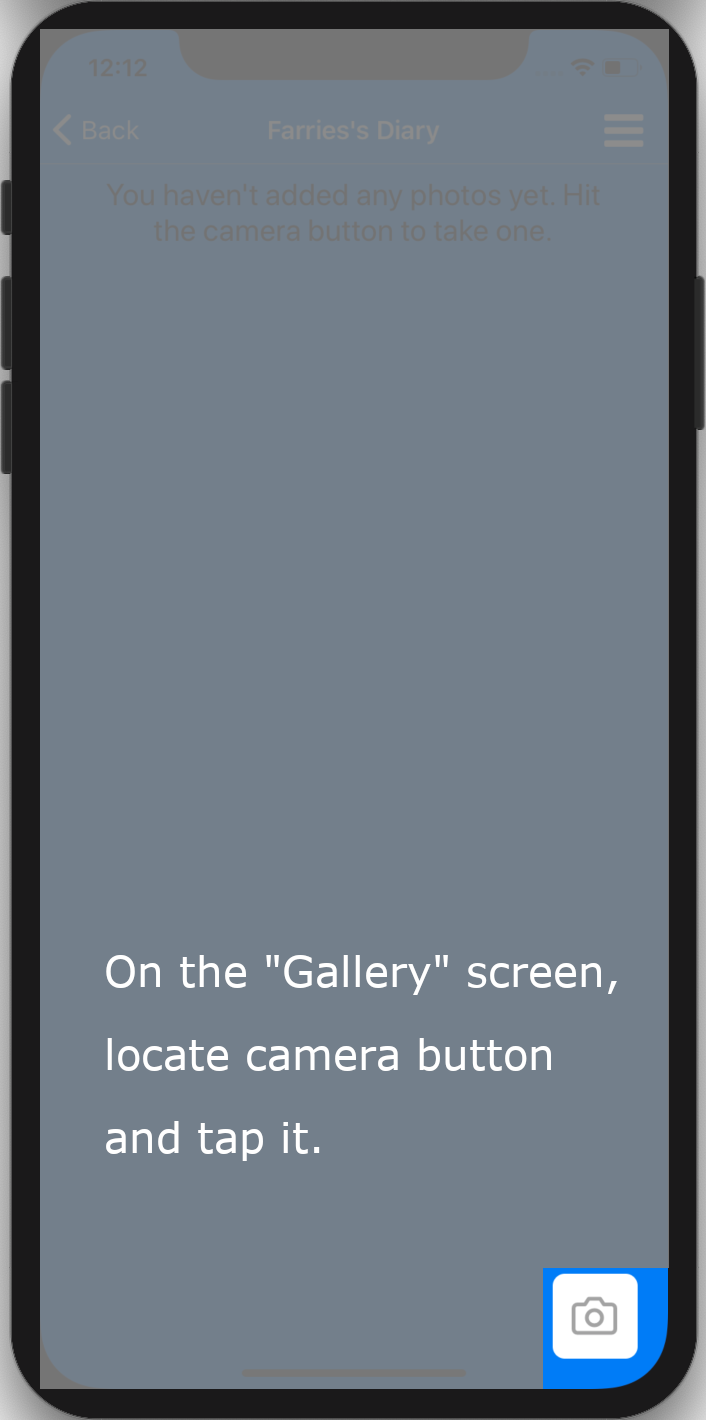
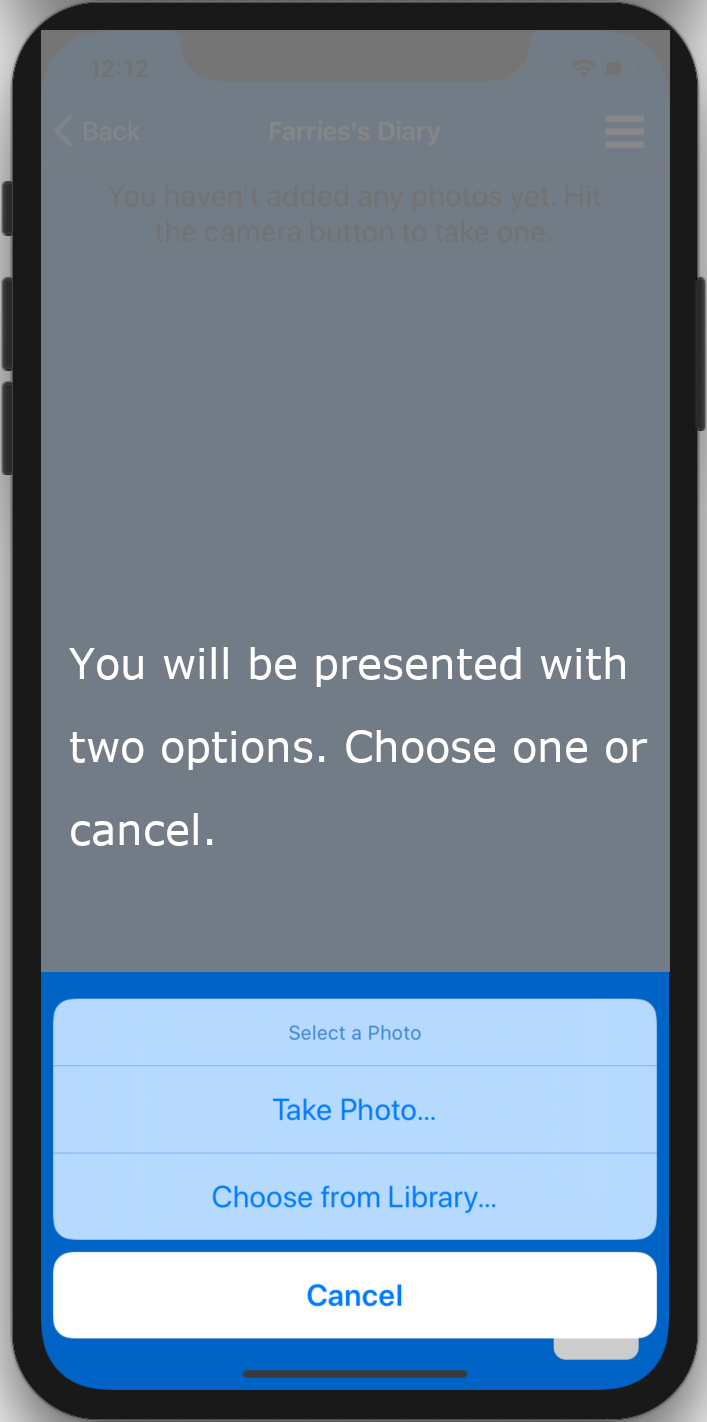
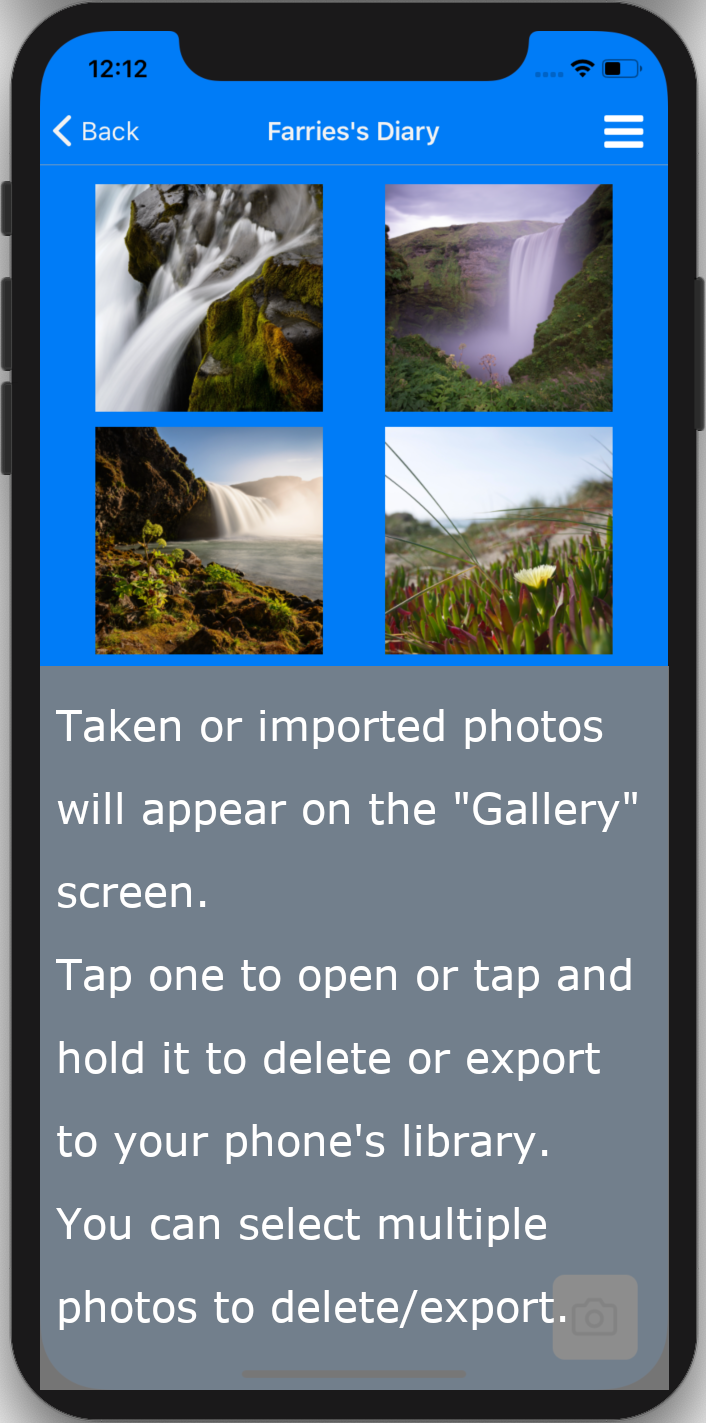
It's always useful to be able to review your work, your progress, and the best way is to do that with images. Also it can be a good proof of the quality of your work. Save the moment by taking one or more photos of an job. You can find all the photos of all the jobs of a particular horse on the horse screen.


